
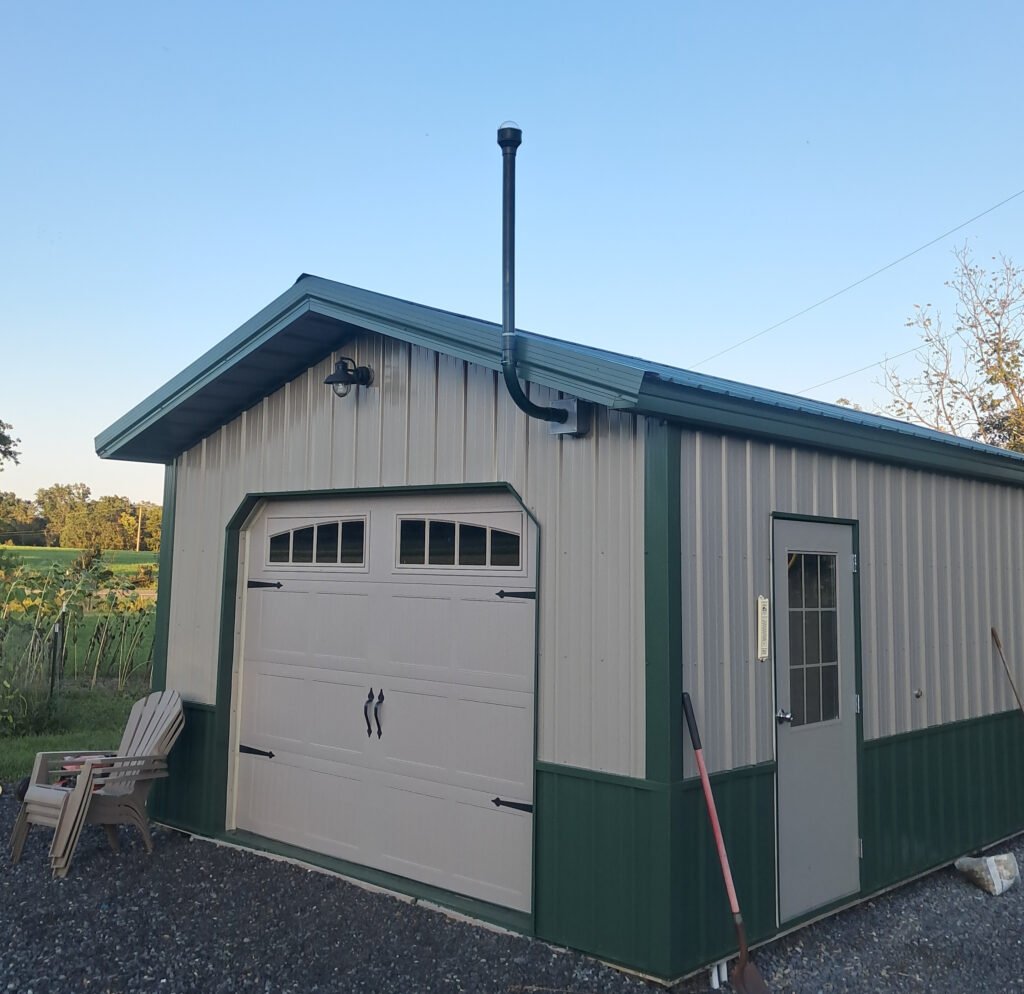
I’ve been wanting to install an allsky camera for several years just to see what I’m missing during nights when I’m not using the scopes, which due to the ongoing observatory construction, is a lot of nights. I settled on the DIY design by the Allsky Team and ordered a Raspberry Pi 4B for it. I installed a 256MB SDCard loaded with the latest version of the OS and connected my ZWO ASI120MM-S camera. Then I followed the software installation and setup steps on GitHub and soon had it up and running. I put the camera on a tripod outside on a dark night and using the Focus Metric in the live image display, I dialed in the focus.
The slowest part of the build for me was coming up with a weather-proof housing for it. I needed to decide where to mount it before I could design a proper housing. I already have an Ethernet switch in the garage, because the connection to the dome passes through it, so it was the logical place to install the camera. The pipe supporting the camera is 2″ PVC that’s painted to match the garage trim.
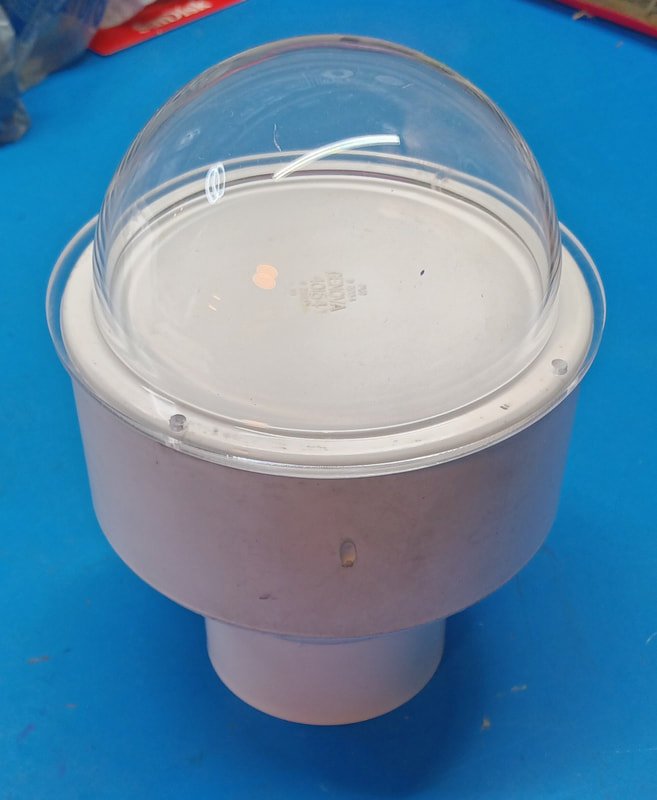
The camera housing is a 4-inch PVC cap on a 4-inch to 2-inch reducer. I cut a hole to size in the cap for the camera, and mounted a clear dome on top. Since I am so close to power and Ethernet it was not necessary to mount the Pi inside the housing, which simplified the design. The Pi is on the wall inside the garage. It’s only about 15-feet from the camera to the Pi and the switch. I did need a right-angle USB 3.0 cable for the camera connection due to tight spacing between the 4-inch housing and the camera. Then I connected the camera to the Pi using an active extension cable.
The instructions said a dew heater was optional, but it’s not. The clear dome dews over every single night in our humid environment here. So I will have to add a dew heater.
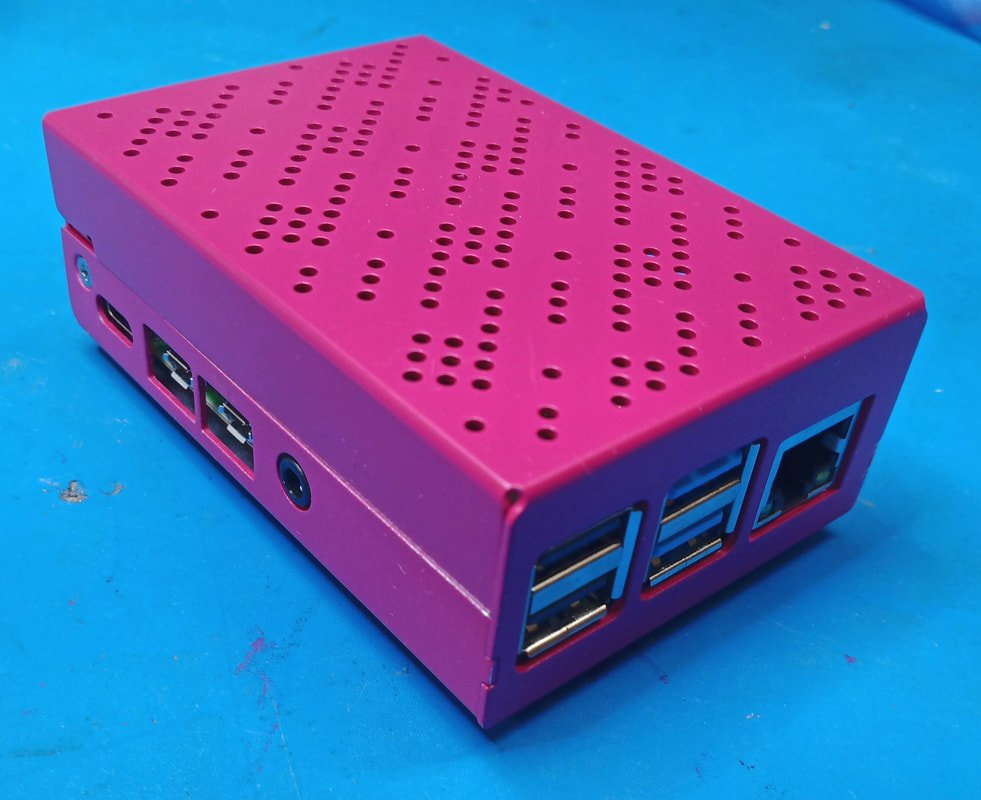
This is the Pi 4B. I purchased a metal housing and a fan cooler for it. I even painted the case Raspberry color.
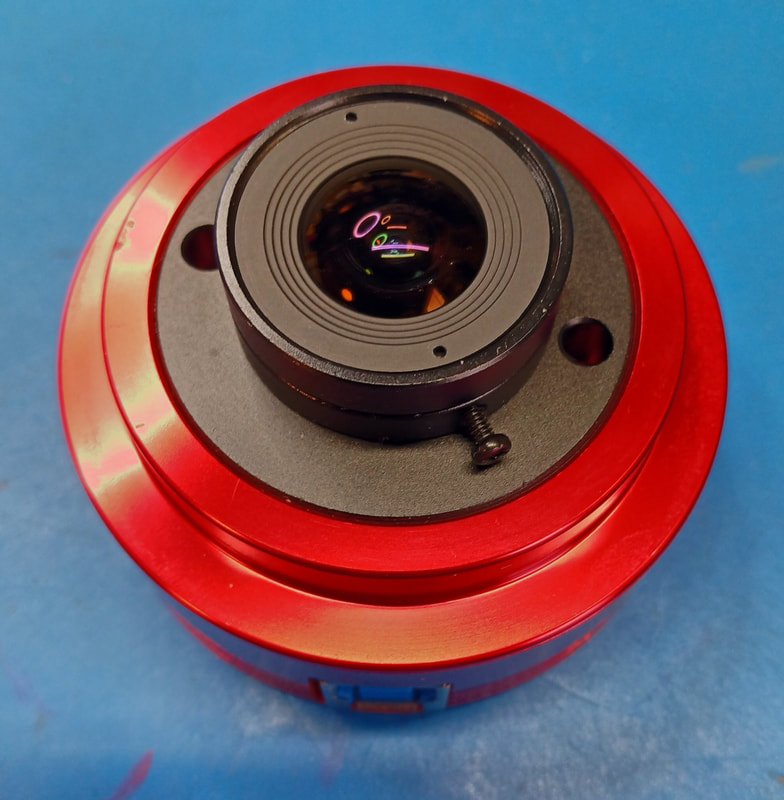
This is the ZWO ASI120MM-S camera with its included 150MM wide angle lens. The lens doesn’t give me 100% sky coverage, but it will do until I can find a 180 lens.
The Allsky instructions say not to use a ZWO ASI120MM, because it is slow and causes problems. But that is the original USB2.0 version and this is an updated -S superspeed USB 3.0 camera, which works just fine.
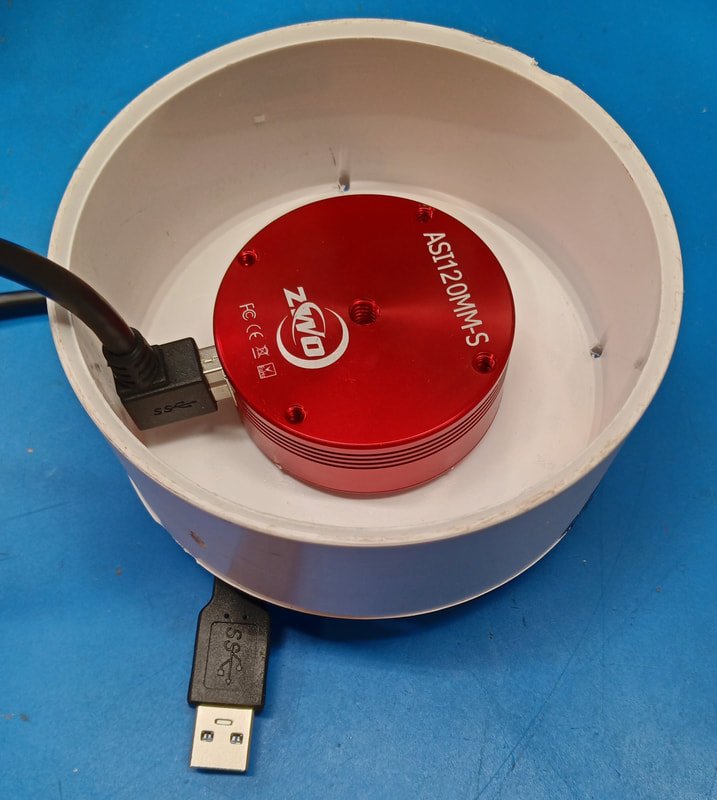
Inside the 4-inch housing there’s not quite enough space for a straight USB connector. But the right-angle version fits well.
This is a sample video timelapse. There are some clouds passing by but the Milky Way is easy to see. In the early morning hours dew starts forming on the clear dome. A dew heater is a must have and one is in the works. It’s been a wetter than usual summer so this is pretty typical of what I’ve been capturing.
Page last updated 9/19/2026